
Why Surface Preparation Determines How Long Interior Paint Actually Lasts
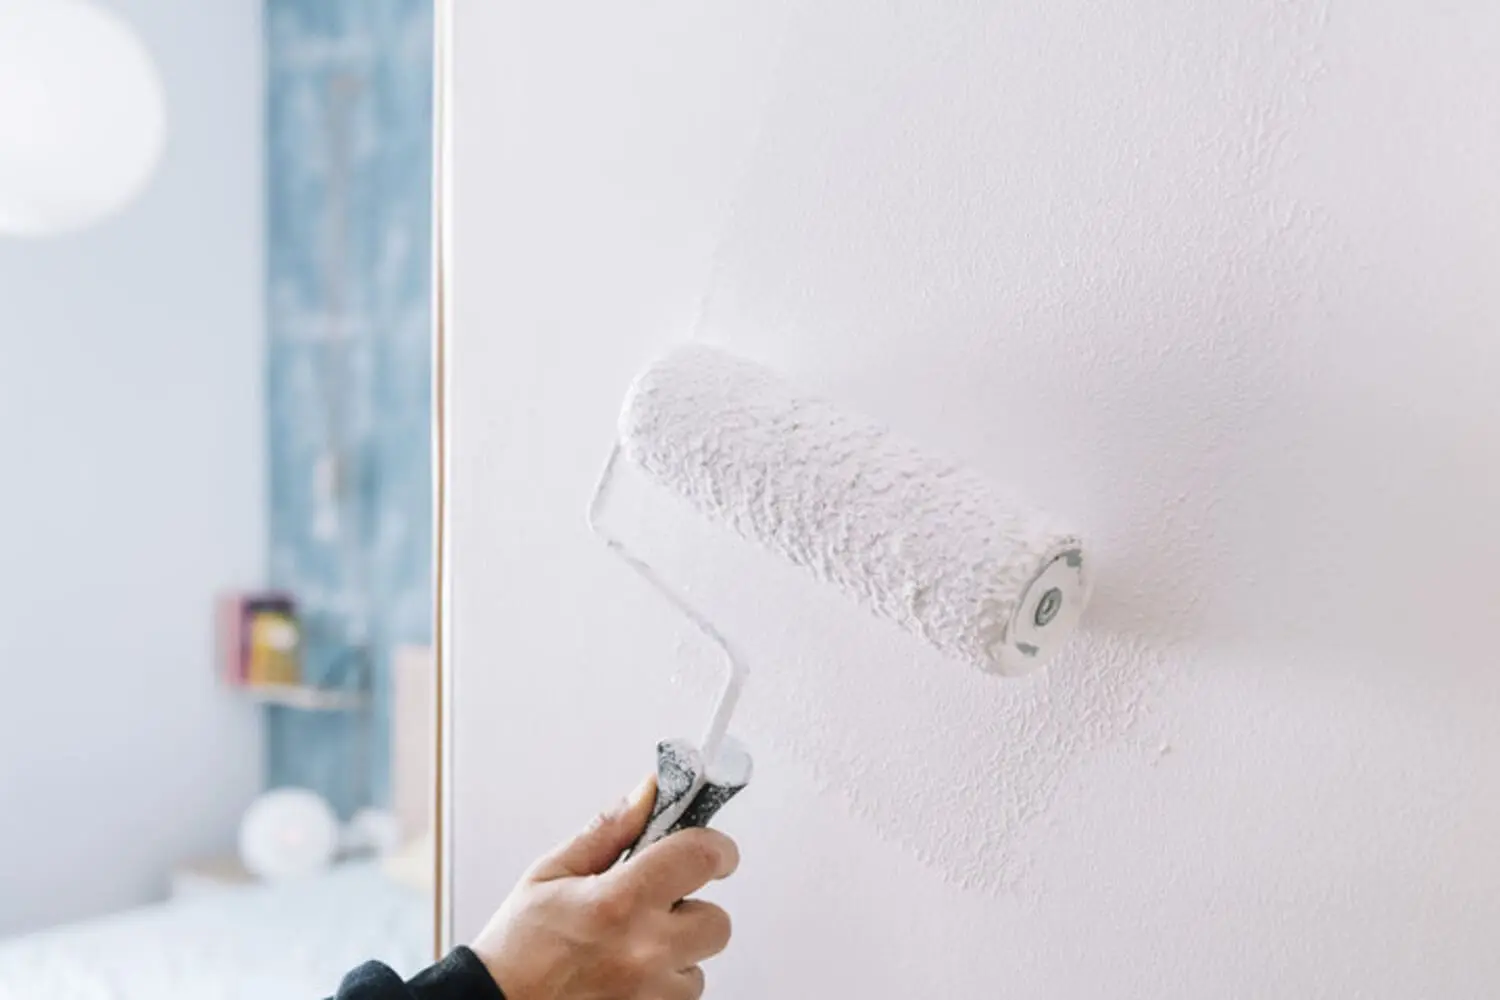
If you have ever had a paint job start peeling or looking worn within a couple of years of being done, your first instinct was probably to blame the paint. Maybe it was a cheaper brand, or maybe the color just did not hold the way you expected. In most cases, though, the paint is not what failed first. Understanding why interior paint prep work determines how long it lasts means looking at what happened before the first coat went on — and in most cases, that is where the real answer is.
Why Interior Paint Fails Earlier Than It Should
Paint can only adhere as well as the surface beneath it allows. A clean, repaired, properly prepared surface gives paint something solid to bond to. A dirty, uneven, or unprepared surface does not, and the paint film reflects that from the start even when it looks fine initially.
Early paint failure — peeling, bubbling, cracking, uneven wear — almost always traces back to something that happened before the first coat was applied. The paint product itself is rarely the cause. This is why two homes painted at the same time with the same product can look very different a few years later. One was prepared correctly. The other was not.
Homeowners often blame the paint brand or assume the job was simply due for a refresh. The more common explanation is that the preparation preceding the paint job was rushed, incomplete, or skipped entirely.
What Each Preparation Step Actually Does
Professional surface preparation is a sequence of steps that each address a specific condition that would otherwise cause the paint to fail. The steps below occur in order, and the order matters — each one sets up the next.
Cleaning — What It Removes and Why It Cannot Be Skipped
Interior walls carry more contamination than they appear to. Depending on the room, that means:
- Grease and cooking residue on kitchen walls
- Soap scum and moisture residue in bathrooms
- Dust, handprints, and general buildup in living areas and hallways
Paint applied over a contaminated surface does not bond to the wall. It bonds to the contamination instead, which eventually separates from the surface and takes the paint with it. The wall looks clean to the eye, but it is not clean enough for paint to adhere properly. This is one of the most commonly skipped steps in rushed jobs, and one of the most direct causes of early failure.
Patching and Repairing — Why Surface Flaws Show Through Paint
Patching addresses the physical condition of the wall before any coating goes on: nail holes, dents, cracks, damaged drywall, and any other irregularities that exist in the surface.
Paint does not hide surface flaws. It follows the contour of whatever is underneath it. An unpatched hole is still visible after painting. An unrepaired crack continues to expand beneath the new coat. And a patch that was not properly finished — fully cured and sanded smooth — creates a visible texture difference under the finished surface that shows up clearly under light.
This step has to be done before any paint goes on, not after, and the repairs have to be finished properly before the next step begins.
Sanding — How It Creates a Surface Paint Can Actually Grip
Sanding accomplishes two things. It scuffs the existing surface so the new coat has something to mechanically bond to, and it smooths out imperfections and transitions between patched and unpatched areas so the finished surface looks even.
Paint applied over a glossy or overly smooth surface has nothing to grip. Even if it looks fine when it dries, the bond is weaker than it should be and the finish will not last as long. Sanding creates the tooth the paint needs to adhere properly and is also what makes a repainted surface look consistent rather than showing ridges or texture variations where old and new surfaces meet.
Priming — When It Is Required and What It Prevents
Primer is not always required, but on certain surfaces it is necessary:
- Bare drywall, which is highly porous and absorbs paint unevenly without a sealer beneath it
- Surfaces with stains or water damage that will bleed through a topcoat without being blocked first
- Areas that have been patched or repaired, where the patch material absorbs paint differently than the surrounding wall
- Dramatic color changes, where the existing color would show through without an opaque base
On these surfaces, primer seals the substrate so paint absorbs evenly, blocks stains from appearing in the finished coat, and improves adhesion where paint alone would not bond reliably. Skipping it on a surface that needs it produces visible results: uneven sheen, stain bleed-through, or a finish that does not hold as long as it should.
Coat Count and Drying Time — How Application Method Affects Durability
The number of coats applied and the drying time observed between them are part of what determines how durable the finished surface is. A single thick coat applied quickly does not cure or build the same protective film as two properly dried coats. The paint film is thinner, more prone to uneven coverage, and more vulnerable to wear.
Rushing the application stage undermines the prep work that came before it. A painter who takes prep seriously but cuts the application short produces a result that still will not hold the way it should. This is one of the clearest differences between a professional job and a rushed one — the willingness to apply the right number of coats and wait the appropriate drying time even when it slows the job down.
Why Does New Paint Peel Off Walls?
Peeling is an adhesion failure. The paint has separated from the surface it was applied to, and that separation almost always has a specific cause that traces back to preparation.
The most common causes of peeling on interior walls:
- Painting over a dirty or contaminated surface, so the paint bonded to the contamination rather than the wall
- Skipping primer on bare drywall, patched areas, or stained surfaces that needed a sealed base
- Applying paint over a glossy surface without scuff sanding, leaving the paint with nothing to mechanically grip
- Trapping moisture beneath the paint film in high-humidity rooms where the surface was not properly dried or sealed before painting
Peeling is not random. It has a specific cause, and a professional who understands preparation can usually identify exactly where the job went wrong by looking at how and where the paint is failing.
Does Primer Really Make a Difference for Interior Painting?
This is a fair question, and the honest answer is that it depends on the surface. Primer is not an automatic upsell — it is a targeted solution for specific surface conditions.
On bare drywall, stained surfaces, patched areas, and dramatic color changes, primer makes a measurable difference in how evenly the finish looks and how long it holds. On a surface that is already in good condition and being repainted in a similar color, primer may add a step without much practical benefit.
What matters is that a professional evaluates the surface before deciding. A painter who applies primer on every job without assessing the surface is worth questioning. So is one who skips it without explanation. The right answer varies by surface. A professional should be able to tell you specifically why they are or are not using it.
How Long Should Interior Paint Last If Applied Professionally?
A professionally applied interior paint job on properly prepared surfaces should last 7 to 10 years in most rooms. Lower-traffic spaces — bedrooms, formal dining rooms, guest rooms — can sometimes hold up longer than that. Higher-traffic and higher-moisture areas wear faster:
- Hallways and entryways: 3 to 5 years due to physical contact and scuffing
- Kitchens and bathrooms: 3 to 5 years due to moisture, cleaning, and humidity
- Living rooms and bedrooms: 7 to 10 years under normal use
The 7 to 10 year range assumes correct preparation, quality products, and proper application. A job where any of those were compromised will not reach that range, regardless of how recently it was done. The prep work is what makes the range achievable, not the paint alone.
What to Ask a Painter About Their Preparation Process
Now that you understand what preparation actually involves, you have the knowledge to evaluate what a painter tells you. The prep conversation is one of the most useful filters available when you are deciding who to hire.
Questions worth asking before any work begins:
- How do you clean the surfaces before painting?
- What is your process for patching and repairing wall damage?
- Do you sand the surfaces before applying paint?
- When do you use primer and when do you not?
- How many coats do you apply, and how long do you wait between them?
A painter who takes preparation seriously will answer these questions specifically and without hesitation. They will be able to tell you exactly what they do at each stage and why. Vague answers, or a conversation that focuses entirely on color selection and the finished look without addressing what happens before the paint goes on, are worth paying attention to.
The same standard applies whether you are having a single room painted or the entire interior of your home. Good prep work on a cabinet refinishing job follows the same logic as good prep on any painted surface — the steps exist for the same reasons and produce the same outcome when done correctly.
The Difference Between a Paint Job That Holds and One That Does Not
The quality of an interior paint job is determined before the first coat of paint goes on. Preparation is not a preliminary step that gets the walls ready for the real work. It is the work — the part that determines whether the finish holds for 7 years or starts failing in 2.
If you have had a paint job wear out sooner than it should have, the cause was almost certainly in the preparation. If you are investing in one now, the questions above give you a way to evaluate whether the painter standing in front of you takes that part of the job as seriously as it deserves.
At Alpha Omega Painters, meticulous prep work is not a selling point — it is the standard. Every interior painting job begins with thorough surface preparation because that is what produces a finish that actually lasts. You can read more about how we approach our work and what we bring to every project.
When you are ready to talk about your home, we would love to hear from you. Reach out through our interior painting page or contact us directly to schedule your free estimate. We will walk the space with you, talk through what the surfaces need, and give you an honest picture of what the job involves before any work begins.
